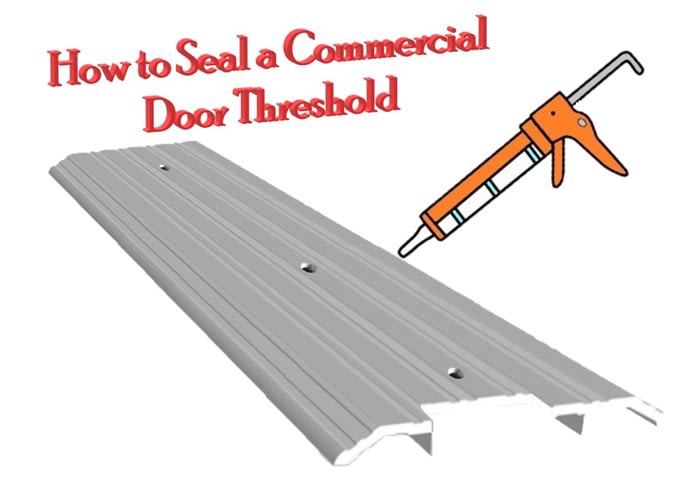
How to Seal A Commercial Door Threshold
A door threshold can be sealed by using a silicone caulk when installing the threshold. The caulk needs to be a continuous bead across the entire length of the threshold, and be generous enough to cover any gaps in the surface you are planning to seal against. Doing this will allow you the best energy efficiency as this will seal any draft that could normally come in underneath or through other typical areas arthe threshold. This method of sealing is also highly recommended for rainy areas where water can easily seep under the threshold and inside your building. Please see below for a step by step procedure of sealing a threshold
Sealing a door threshold should take anywhere from 15-30 minutes to complete and can be done before or after the threshold has been installed on the floor.
Tools Required
- Caulking gun (optional - some caulking comes in a tube and don't require a caulking gun to use)
- Silicone caulk or alternative weather resistant type caulking
![]()
Sealing Instructions
Step 1: Verify Proper Installation of Threshold
If you are following this guide, it is very likely you have a leaky threshold. Just to make sure this guide will help you, you will need to first verify that your threshold is installed properly. If you are unsure about this, please follow the link
here to check over the process and see if the proper procedure was followed for installation.
Step 2: Tape
Tape around the perimeter of the threshold and the surface you are sealing against. If you are confident in your caulking abilities, you can skip this step. However, it is highly recommended to tape the floor, walls, threshold, jambs, etc. as silicone caulking can get really messy in the blink of an eye. This step is just a failsafe in case too much caulking is used.
![]()
Step 3: Caulk
![]()
Caulk the entire perimeter of the threshold. This includes the front and rear ramp side on the threshold as well as the sides that butt against the jamb. Make sure to go slow and put an even bead across all surfaces. If you accidentally get any silicone where you don't want it, use a wet wipe or wet rag to wipe it up before it dries. The best method we found for efficiently caulking your threshold is to split up the job into 4 parts for each side of the threshold. Start with one of the ramp sides, and put a bead of caulking all the way down the threshold. When you finish, go back to the start of the threshold and use a wet finger to push down on the wet caulking and make sure you are getting a good seal. If you use this method you have to make sure your finger is very wet, or use a wet wipe. If you try and use a dry rag or finger, the caulking will stick to your finger and will end up smearing everywhere. This is not what you want. Whatever method you choose should easily glide down the caulking and create a nice finished like that seals. This is important to do because it will also bring to light any airgaps in your caulking or areas where the caulking is not sticking to your two surfaces. Once you get one side of the threshold completed, you can repeat the process for the other sides.
Helpful Hints:
- When using a caulking gun, try squeezing the trigger with a consistent pressure so the flow of sealant is constant. This will make it easier to avoid air bubbles during the caulking process
- Cut the tube of caulking open at a 45 degree angle, and as wide as the bead of caulking you want to lay down
- Try using wet-wipes to clean up any mistakes made. This will usually pick the sealant right up without any damage
Step 4: Cure
Allow your caulking to cure for 24 hours. You can determine the specific amount of time you need to wait by what the manufacturer says about your specific sealant. Some sealants dry quicker, and some are slower. If you can't seem to find this time limit, 24 hours should suffice. Do not touch, alter or modify the sealant at any point during this time. Leave the tape on until the seal has been fully cured.
Step 5: Check Your Work
Verify that your caulking has dried by touching it. It should not feel sticky, and should have a fairly rigid, but also pliable feel. Check all caulked surfaces and verify that there are no holes or air bubbles anywhere.
Step 6: Finish
After verifying everything is sealed, remove the tape from your threshold and other surfaces. Give your seal another look to make sure pulling off the tape did not take any of your seal with it. Make sure to open and close your door to make srue there are no new clearance issues or any problems with fitment of the new seal. If everything checks out, you are all done!